Short Version Sho.....
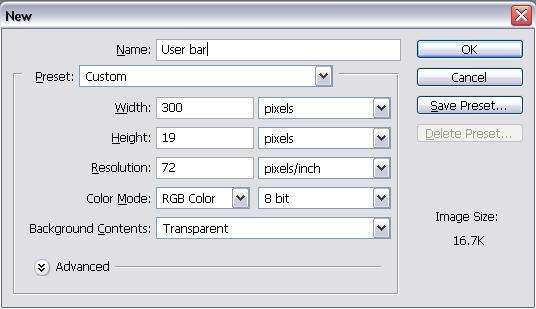
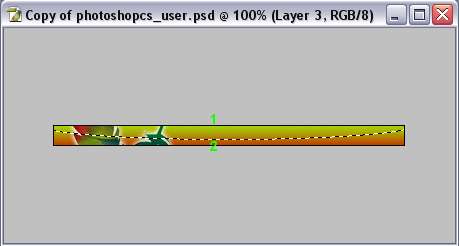
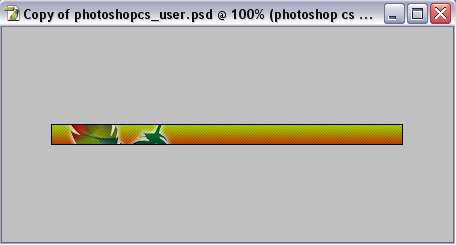
Make your new Image bar....350 X 19
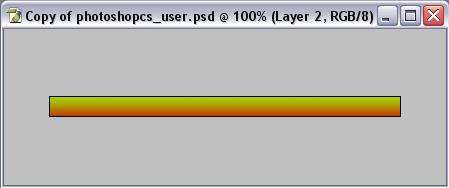
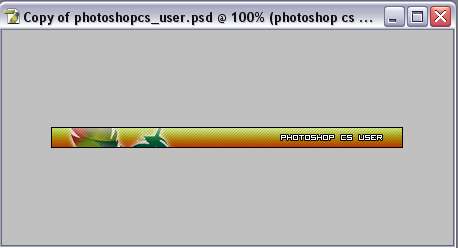
As New Layers Add In this Order:
Color <----Bottom Layer
Scanlines (Optional layer)
Elliptical (Optional layer)
Image
Text
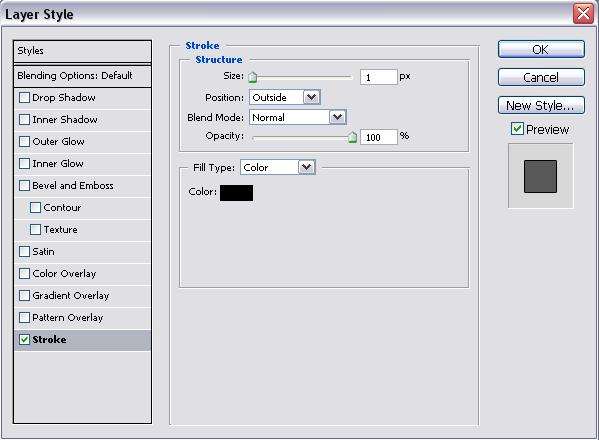
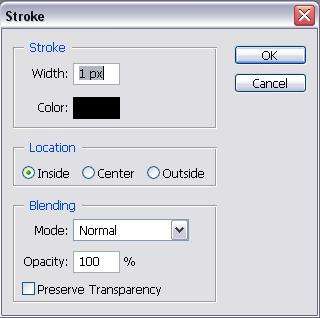
Stroke (on bar) <---- Top layer
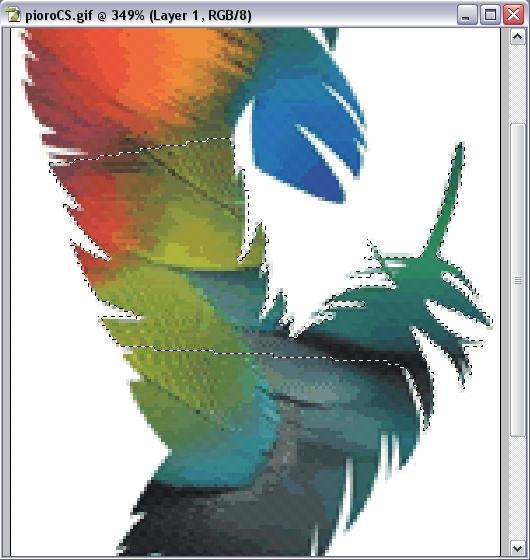
be Sure to Put the Image Directly in the center of the Bar, I try to keep my Image or Render at about 200 X 200 or somewhere there bouts....
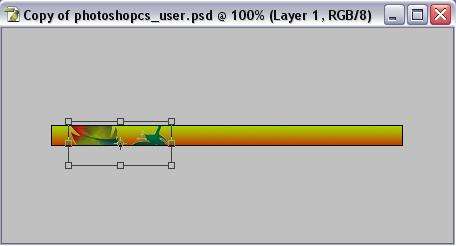
At this Point you should have a Still bar with an image directly in the center, the top and bottom will apear to be cut off, but they are not....you'll see....
At this point hit Edit in Image Ready, Make sure your animation Window is open and go to the layer palette for the bar....Click on the layer for the image ONLY.....you will see a Blue Box highlite it on the bar.....
Use your Move tool to drag that box DOWN until the Image has Just completely disappeared from the bar.....the top line of the blue box should be flush with the bottom of the bar....
Go to the animation window and Click Duplicate.
Now go back to the Image and use the Move tool to Drag the Image all the way UP until it has passed through the Bar and the Bottom of the blue box is flush with with the top of the bar.
Go back to the animation window and Click Tween....I like 45 Frames, smoothest effect I think.....
Once you tween it, hit the Test in IE button to see if you like it, if not just undo redo.....be careful when draggin to make sure you go STRAIGHT up and STRAIGHT down or it will wiggle in the animation....
Once you like it go to File and SAVE OPTIMIZED AS...
Done


 Reply With Quote


 x5
x5


